The Complete
Monochrome Coloring Guide
Color a whole page with just one color. Learn the method, then try all three styles free.
Free PDF · 15 pages · Enter your email, download instantly
What Is Monochrome Coloring?
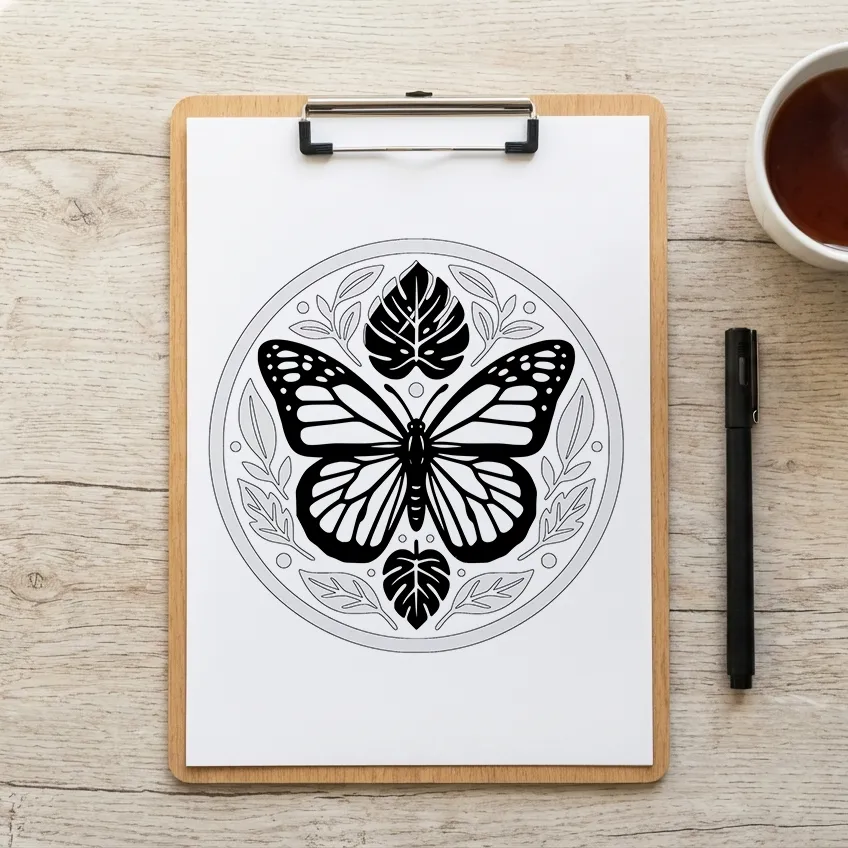
Monochrome coloring means coloring a whole page with just one color. One marker, one pencil, or one fineliner, from the first stroke to the last. You may also see it called one-color coloring, single-color coloring, or monochromatic coloring.
In a classic coloring book, every space asks a question: which color goes here? Monochrome coloring skips that step. The image comes to life through contrast, the areas you fill against the paper you leave white.
Black is the classic pick, but it doesn't have to be black. Any color works, so you can match it to your mood.
Why One Color?
For some people, the hardest part of coloring isn't the coloring. It's the moment before. Which color first? Does this combination work? Am I doing this right?
Monochrome coloring takes that step away. You pick one color before you sit down. After that, you follow the lines.
One decision. Then flow.
Pick the color that matches your mood
- Blue Deep calm
- Coral Fresh energy
- Lilac Gentle creativity
- Green Grounded focus
- Black Bold clarity
There is no perfect color today, only the one that helps you begin.
One Design, Three Ways to Color
Every collection includes all three versions of each design. Pick how much guidance you want today.
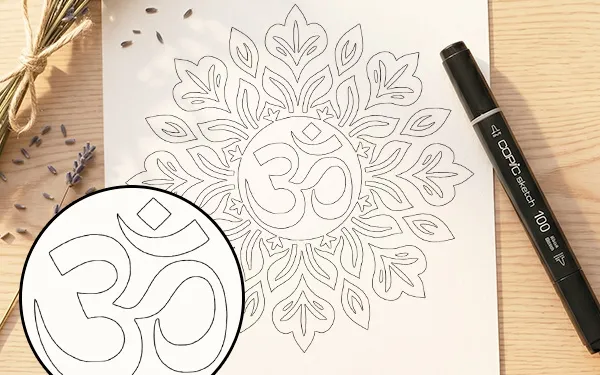
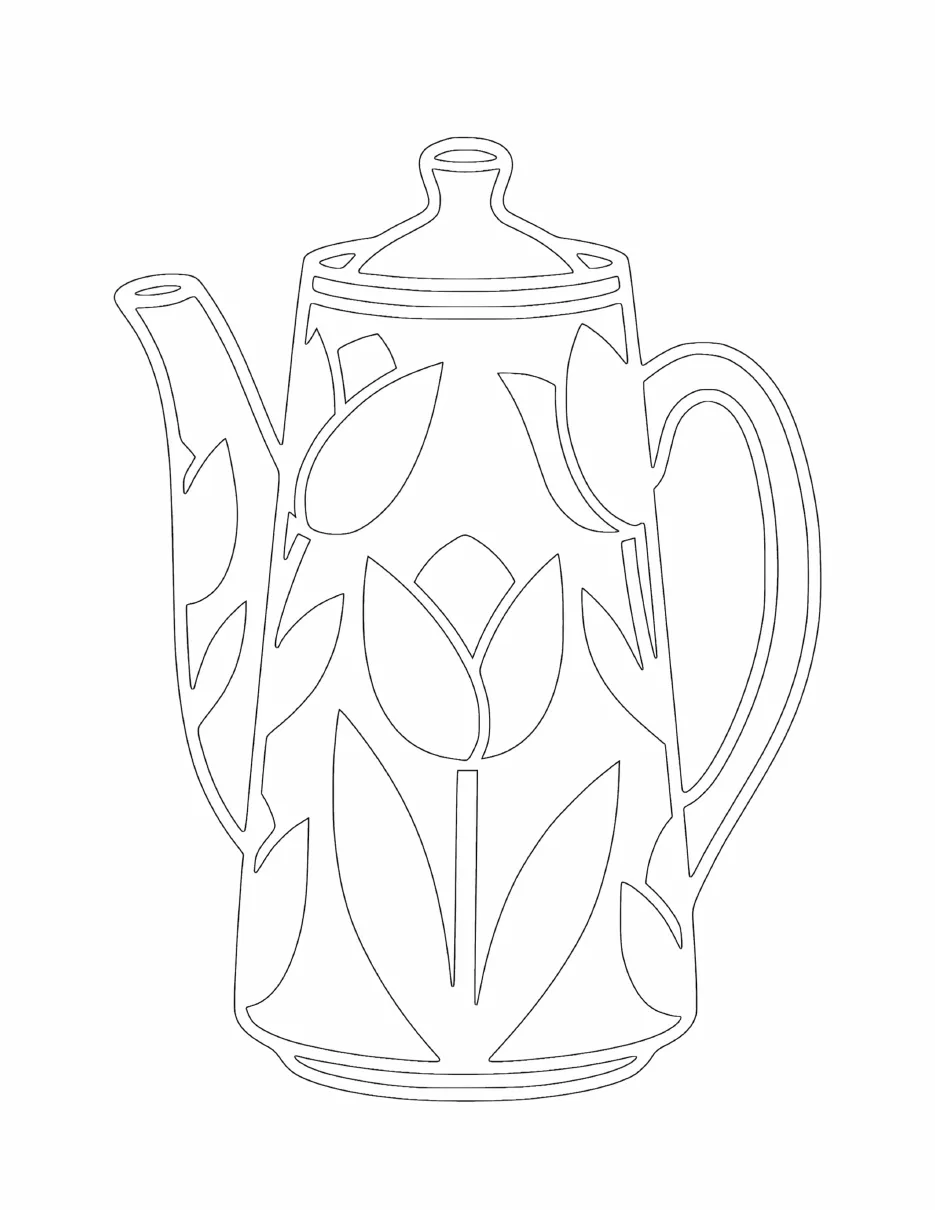
Classic Outline
Clean lines. You decide where the color goes.
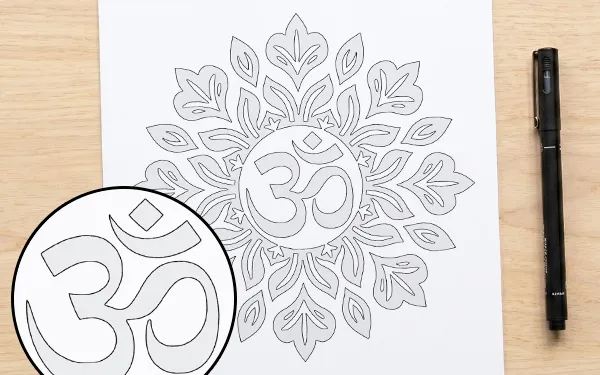
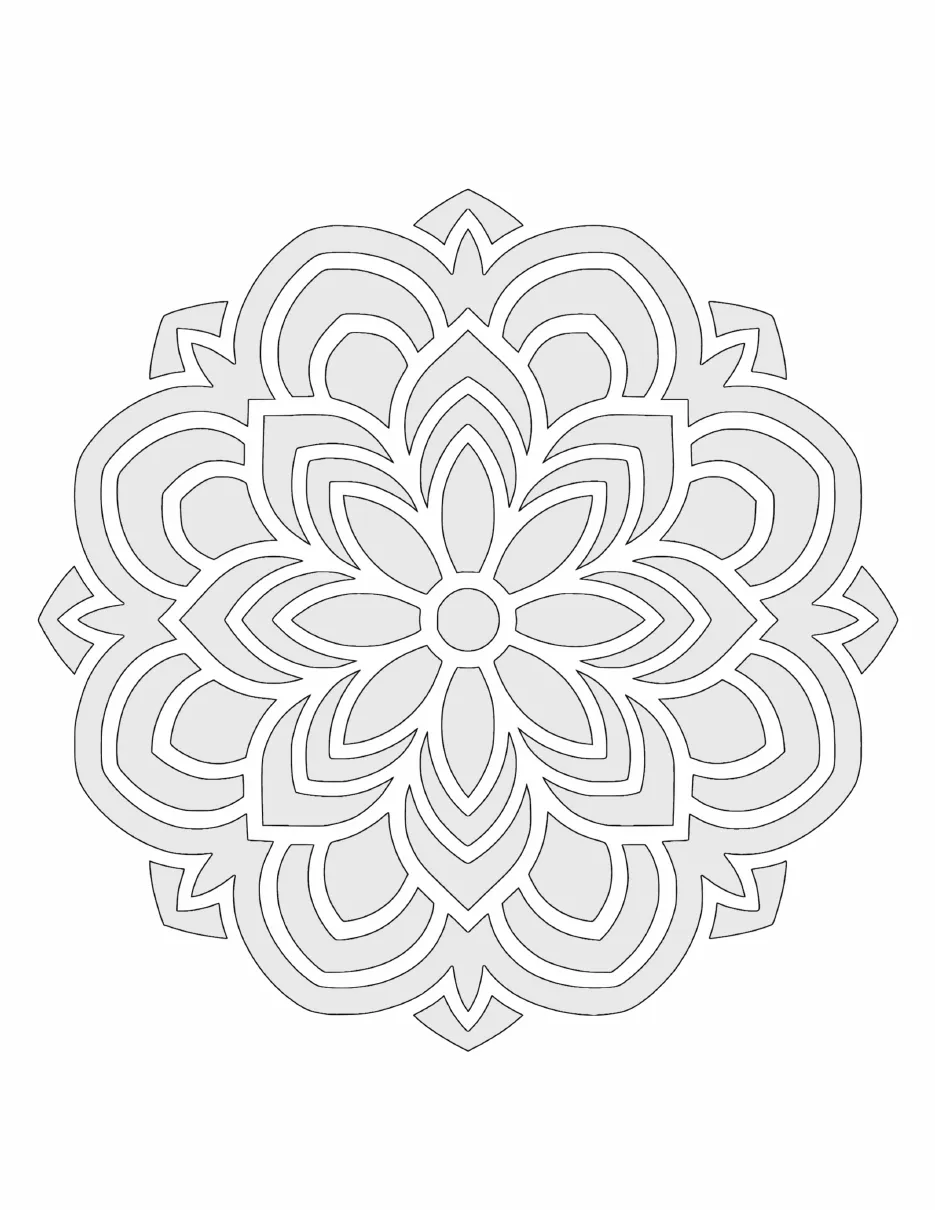
Shadow Guide
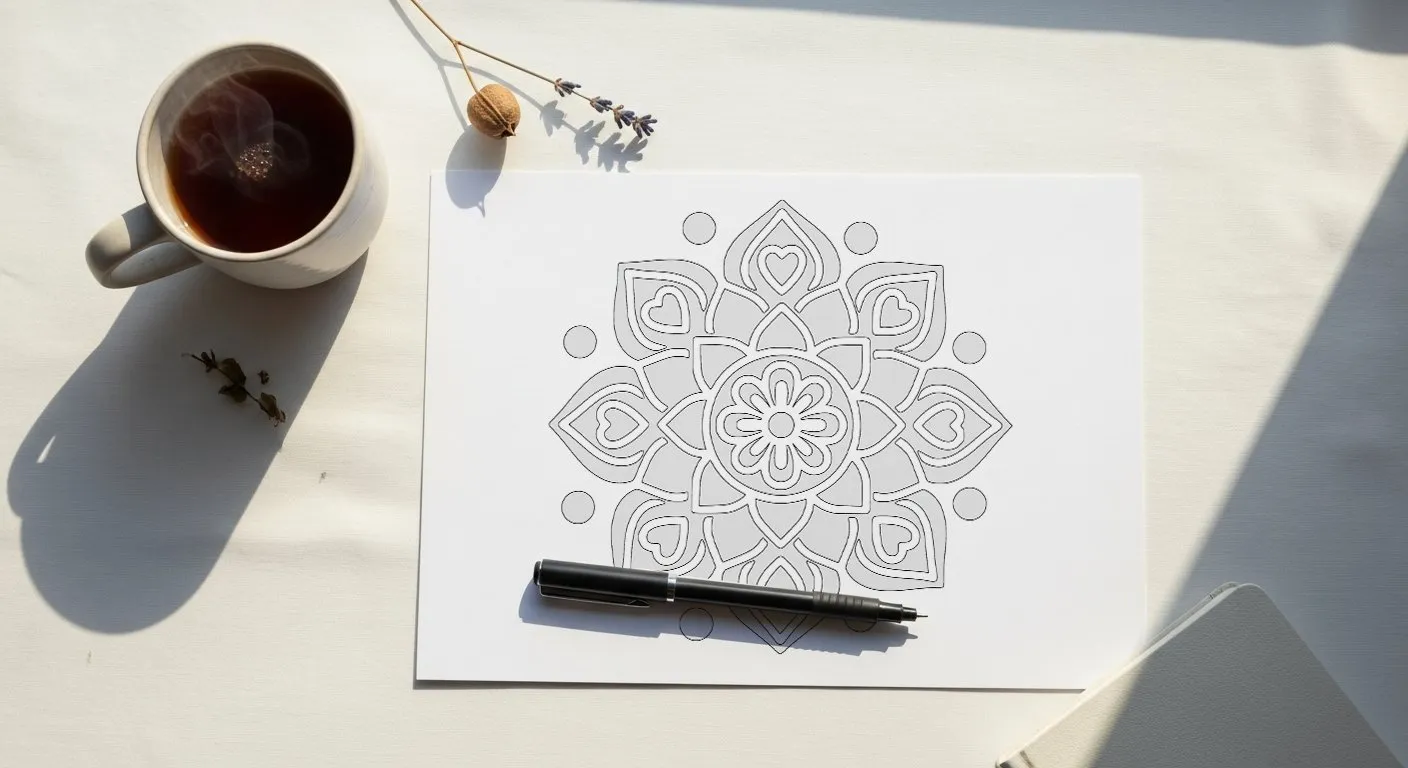
Soft gray shading shows where to add depth.
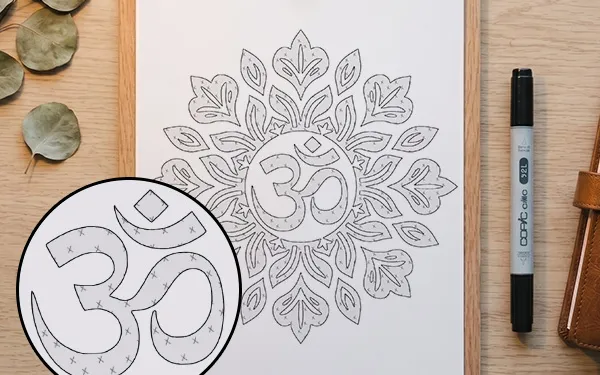
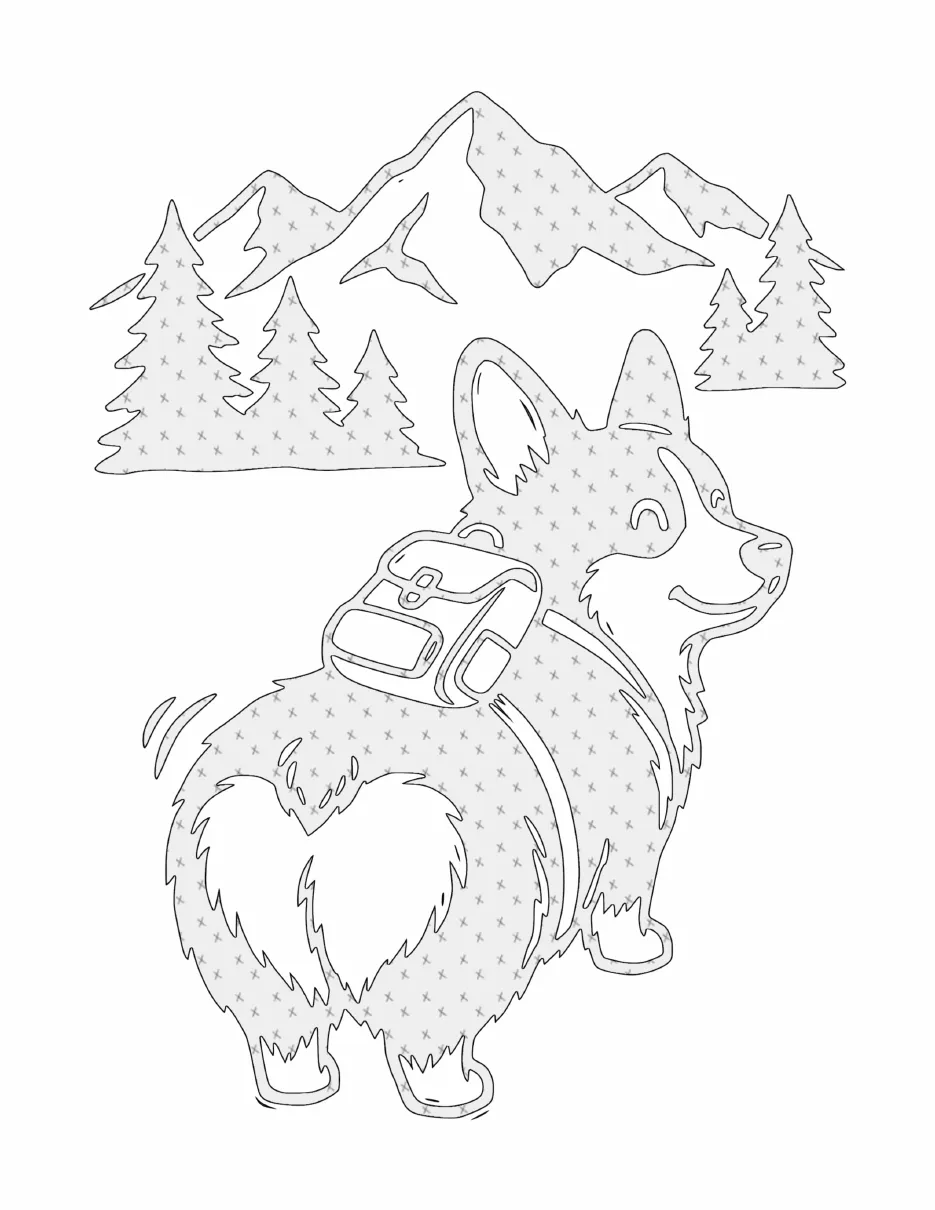
Pattern Guide
Small marks show which spaces to fill.
Printing Setup
Printing at home? Pick a paper, check three settings, and start coloring.
Coloring a paperback, or digitally on a tablet? No printing needed: the PDF opens in apps like Procreate or GoodNotes. Skip to Zen Ritual
Choose Your Paper
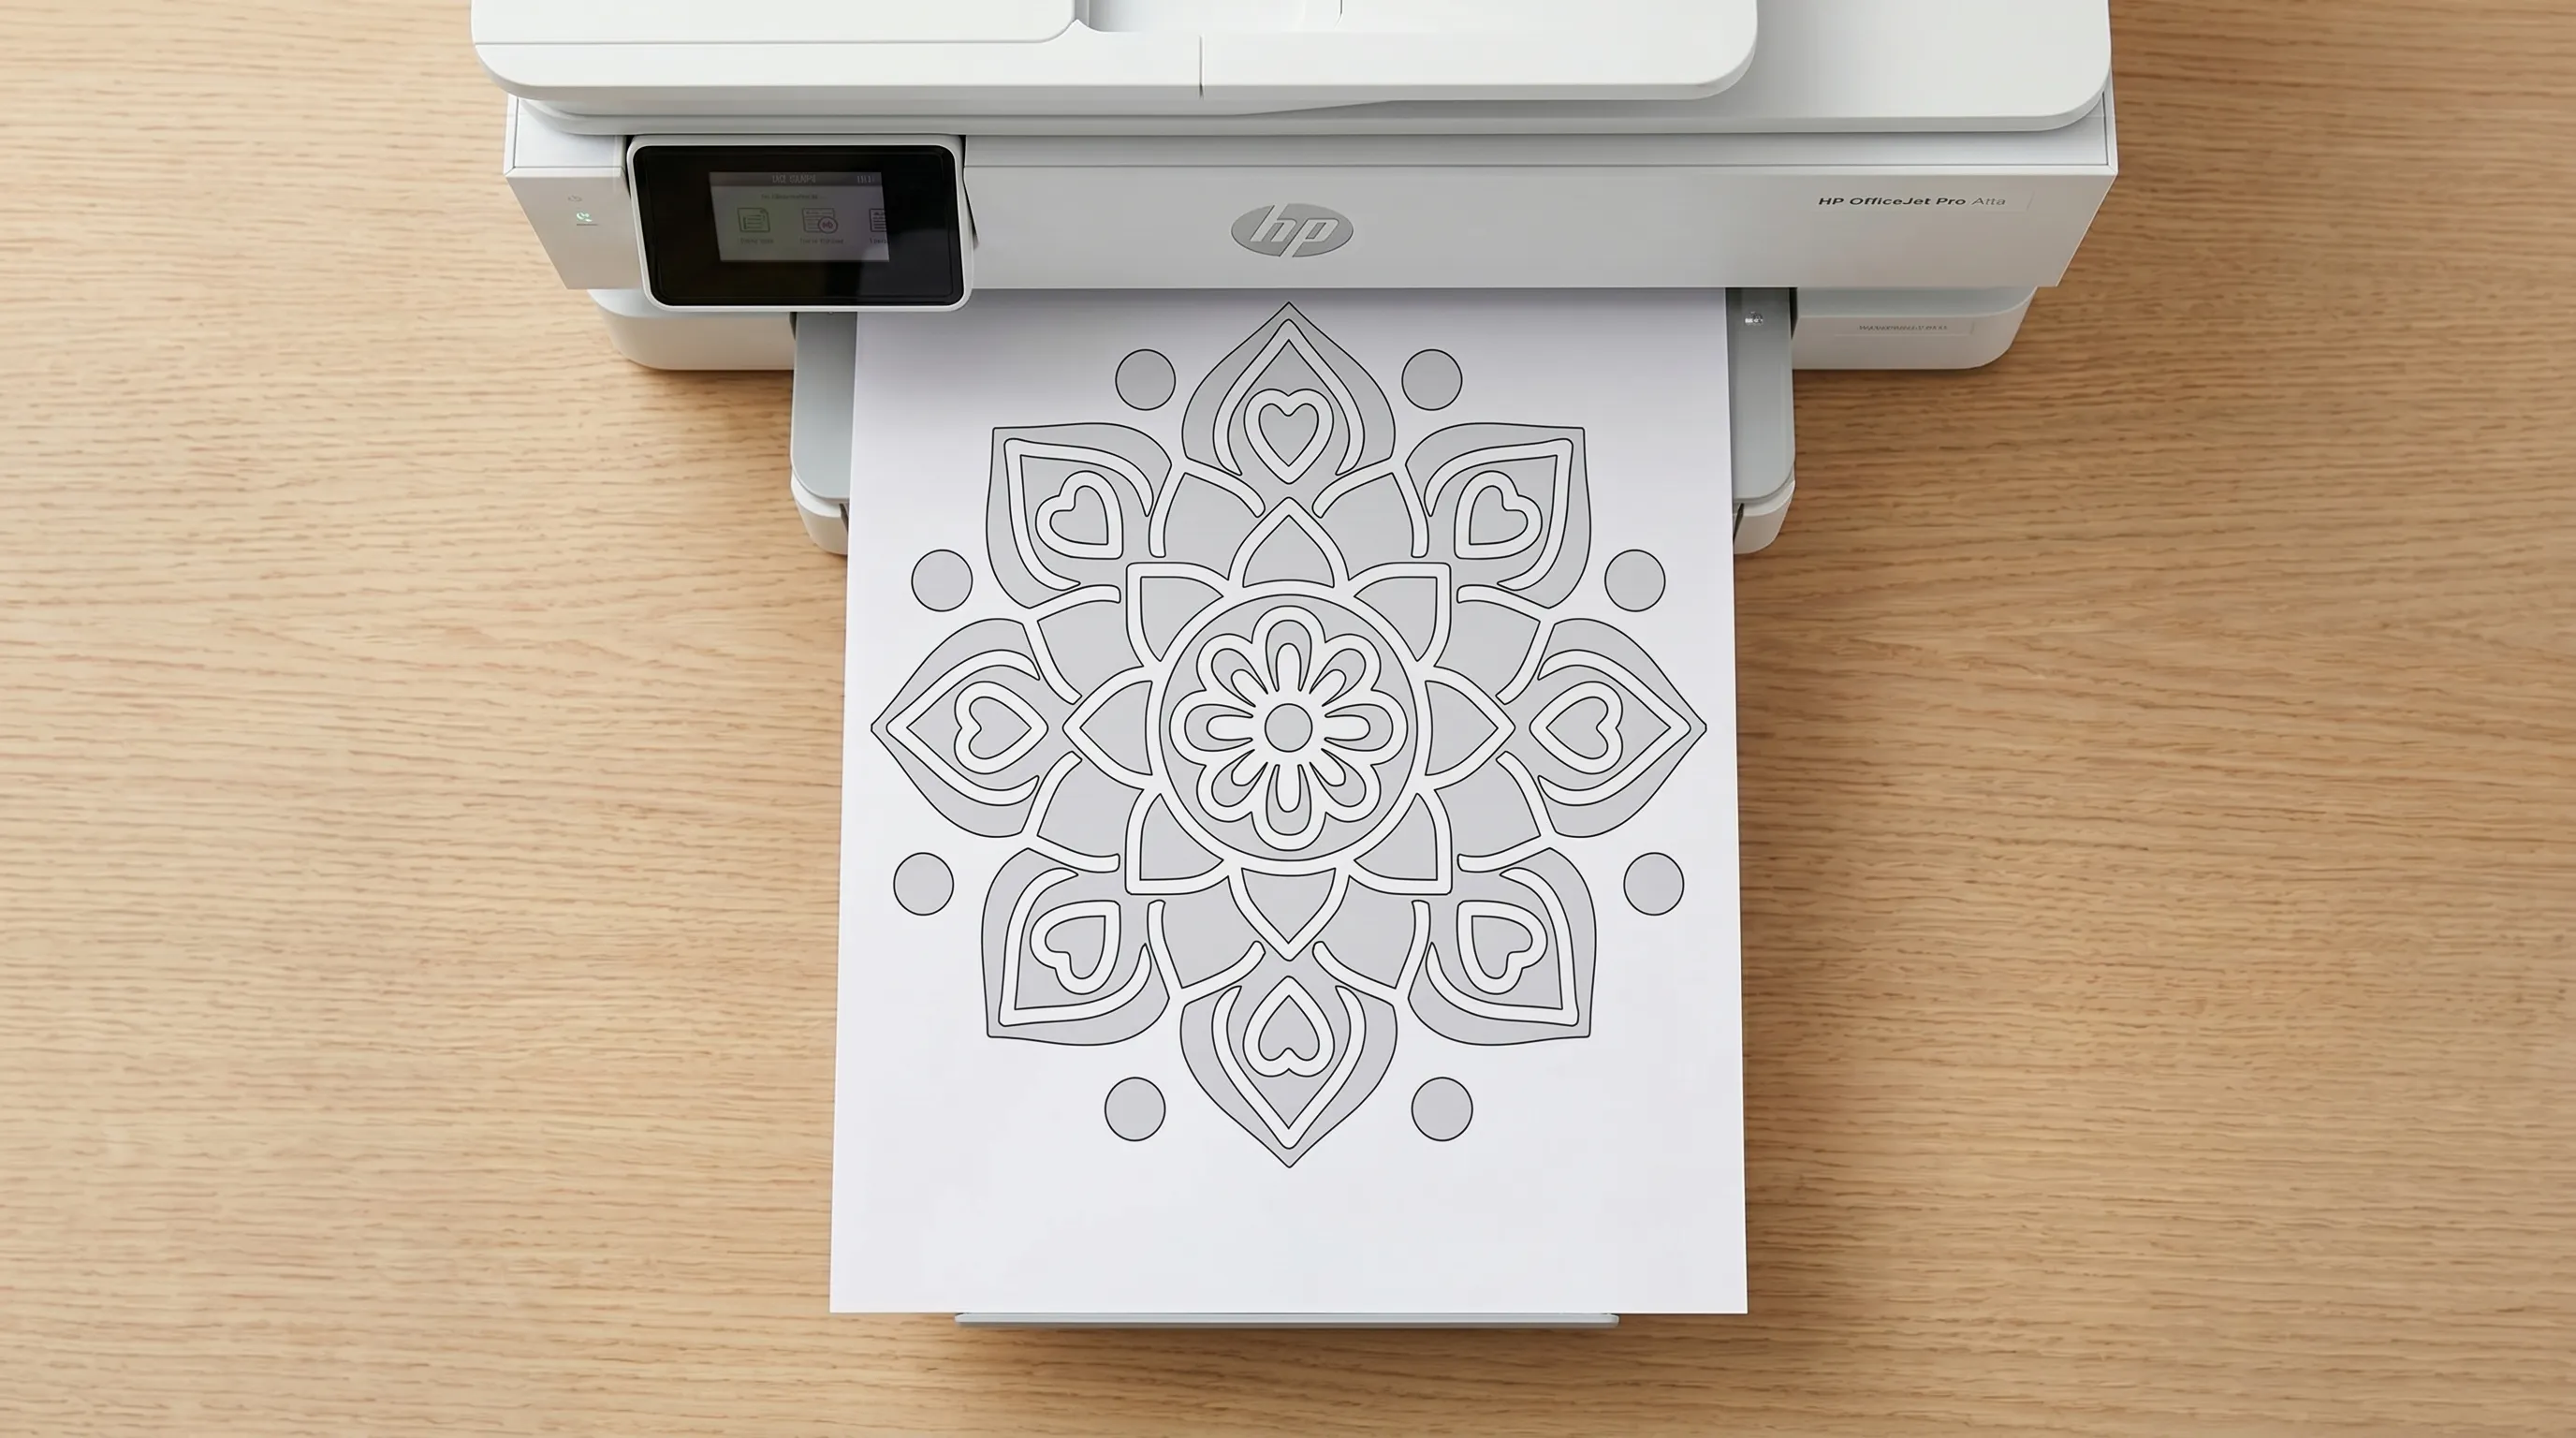
Everyday Printer Paper
Best for fineliners, gel pens and pencils
The paper you already have works. If ink soaks through, a spare sheet underneath protects your table.
Optional upgrade only if you want it
-
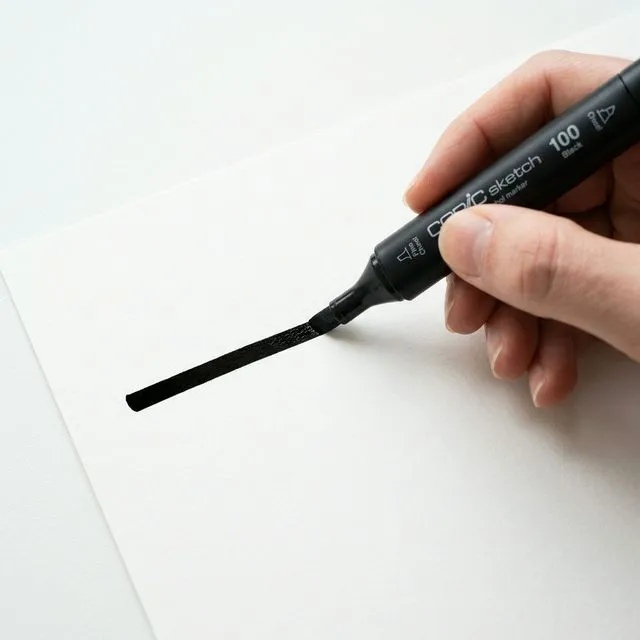
Smooth Cardstock
Best for markers
Thick, smooth paper keeps marker ink crisp and limits bleed-through.
Our pick: Neenah Classic Crest 80 lb
Using colored pencils? They work on both. For extra grip, try a vellum cardstock like Neenah Vellum Bristol 67 lb
Using alcohol markers? Choose marker paper around 150–250 gsm (weights vary, so check the label). Read the bleed-through guide
As an Amazon Associate, AnIsGOtt Design earns from qualifying purchases.
Check Three Printer Settings
-
Quality: High or Photo
Gives you crisp, clean lines.
-
Scale: 100%
Keeps the design at its original size.
-
Cut-off edges: Fit to Page
Fits the whole design inside your printer's margins.
Zen Ritual
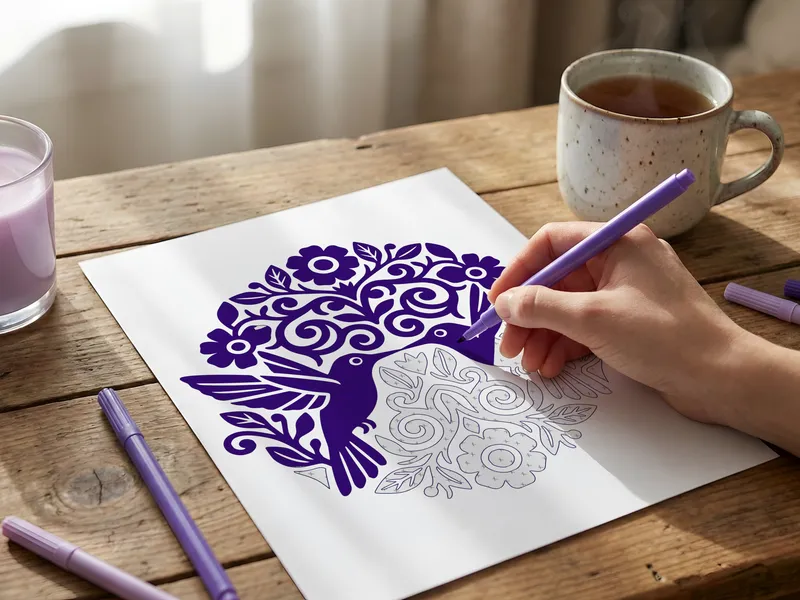
Turn coloring into a small ritual. A calm setup makes it easier to arrive.
-
Prepare Your Space
Clear your desk and light a candle. Fewer things in view, fewer things pulling at you.
-
Choose Your Sound
Silence, lo-fi or soft ambient. Pick something that doesn't ask for your attention.
-
The Breath Reset
Three slow breaths before your first stroke.
Inhale 4 · Hold 4 · Exhale 8
-
Begin with One Color
Pick one marker and start where your eye lands.
Sound and one color work for the same reason: they give your brain something structured to follow, with fewer decisions to make. Read why it works
One Color, Bold Results
Depth comes from contrast: filled areas against white paper. Here's how to get it with the tool you already have.
-
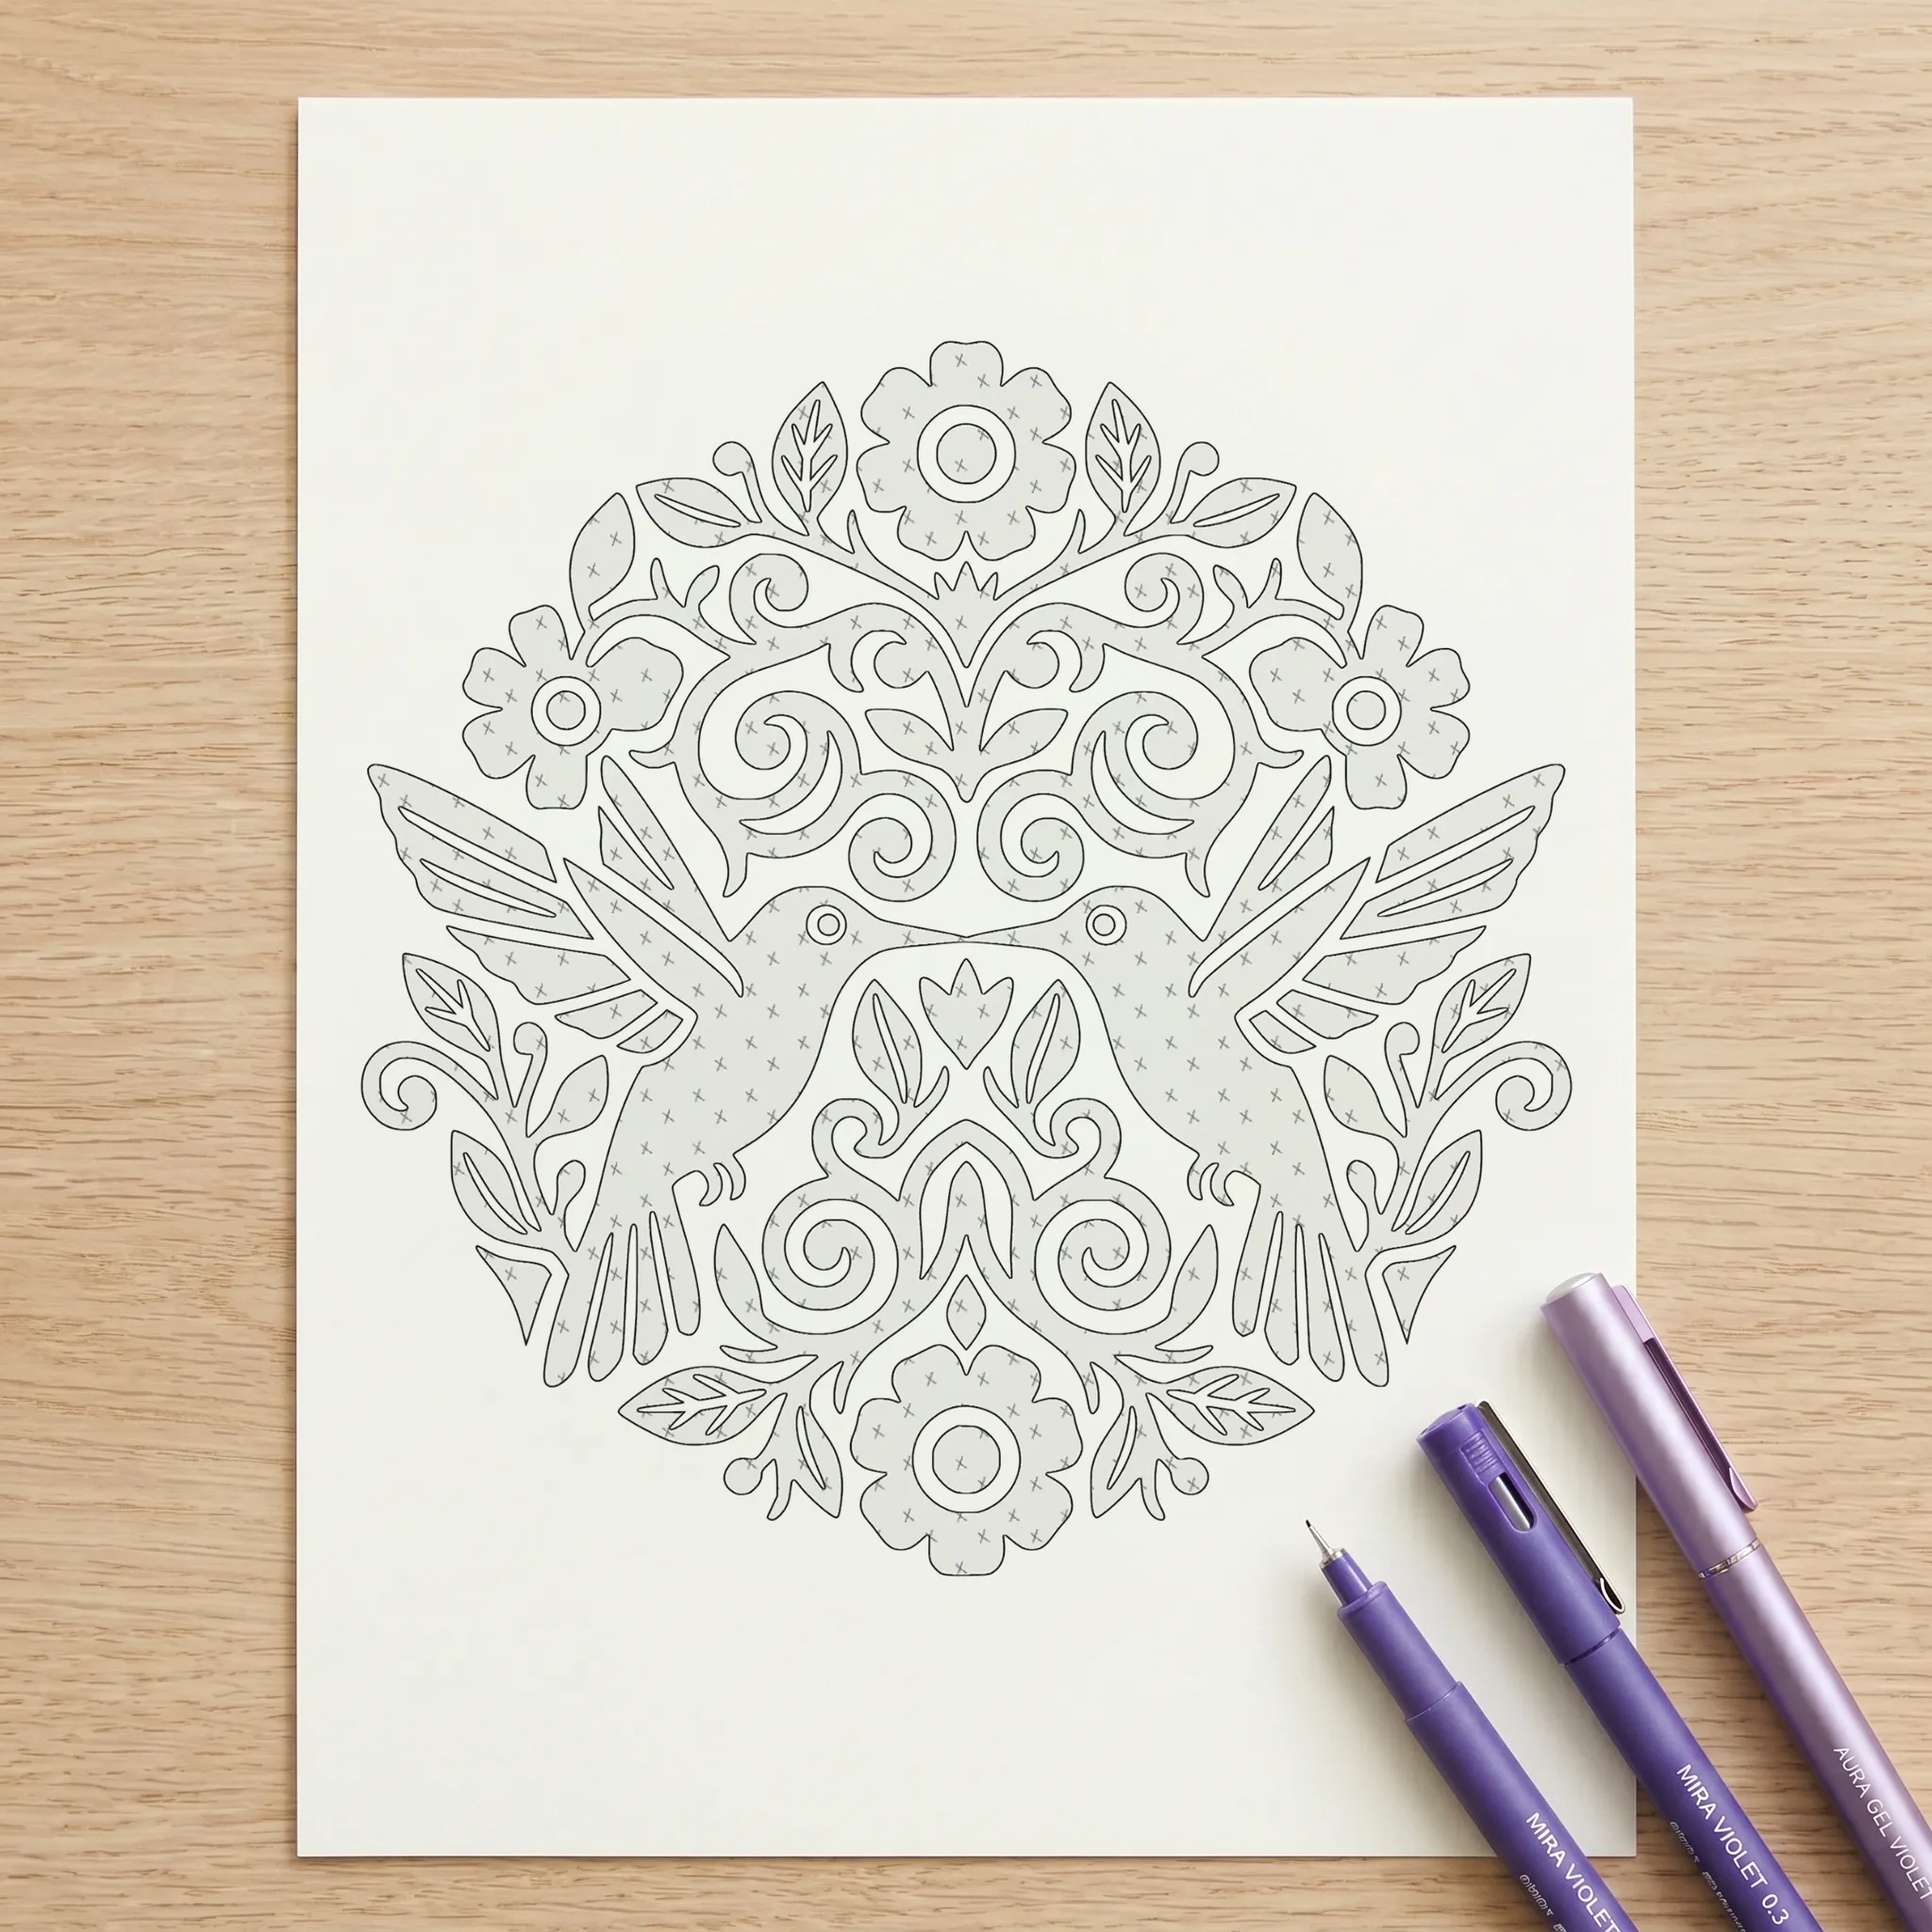
Markers
Solid fills
Fill whole areas and keep edges clean. A dual-tip marker covers both fills and fine details.
Our pick: Ohuhu Dual Tip Pro option: Copic -
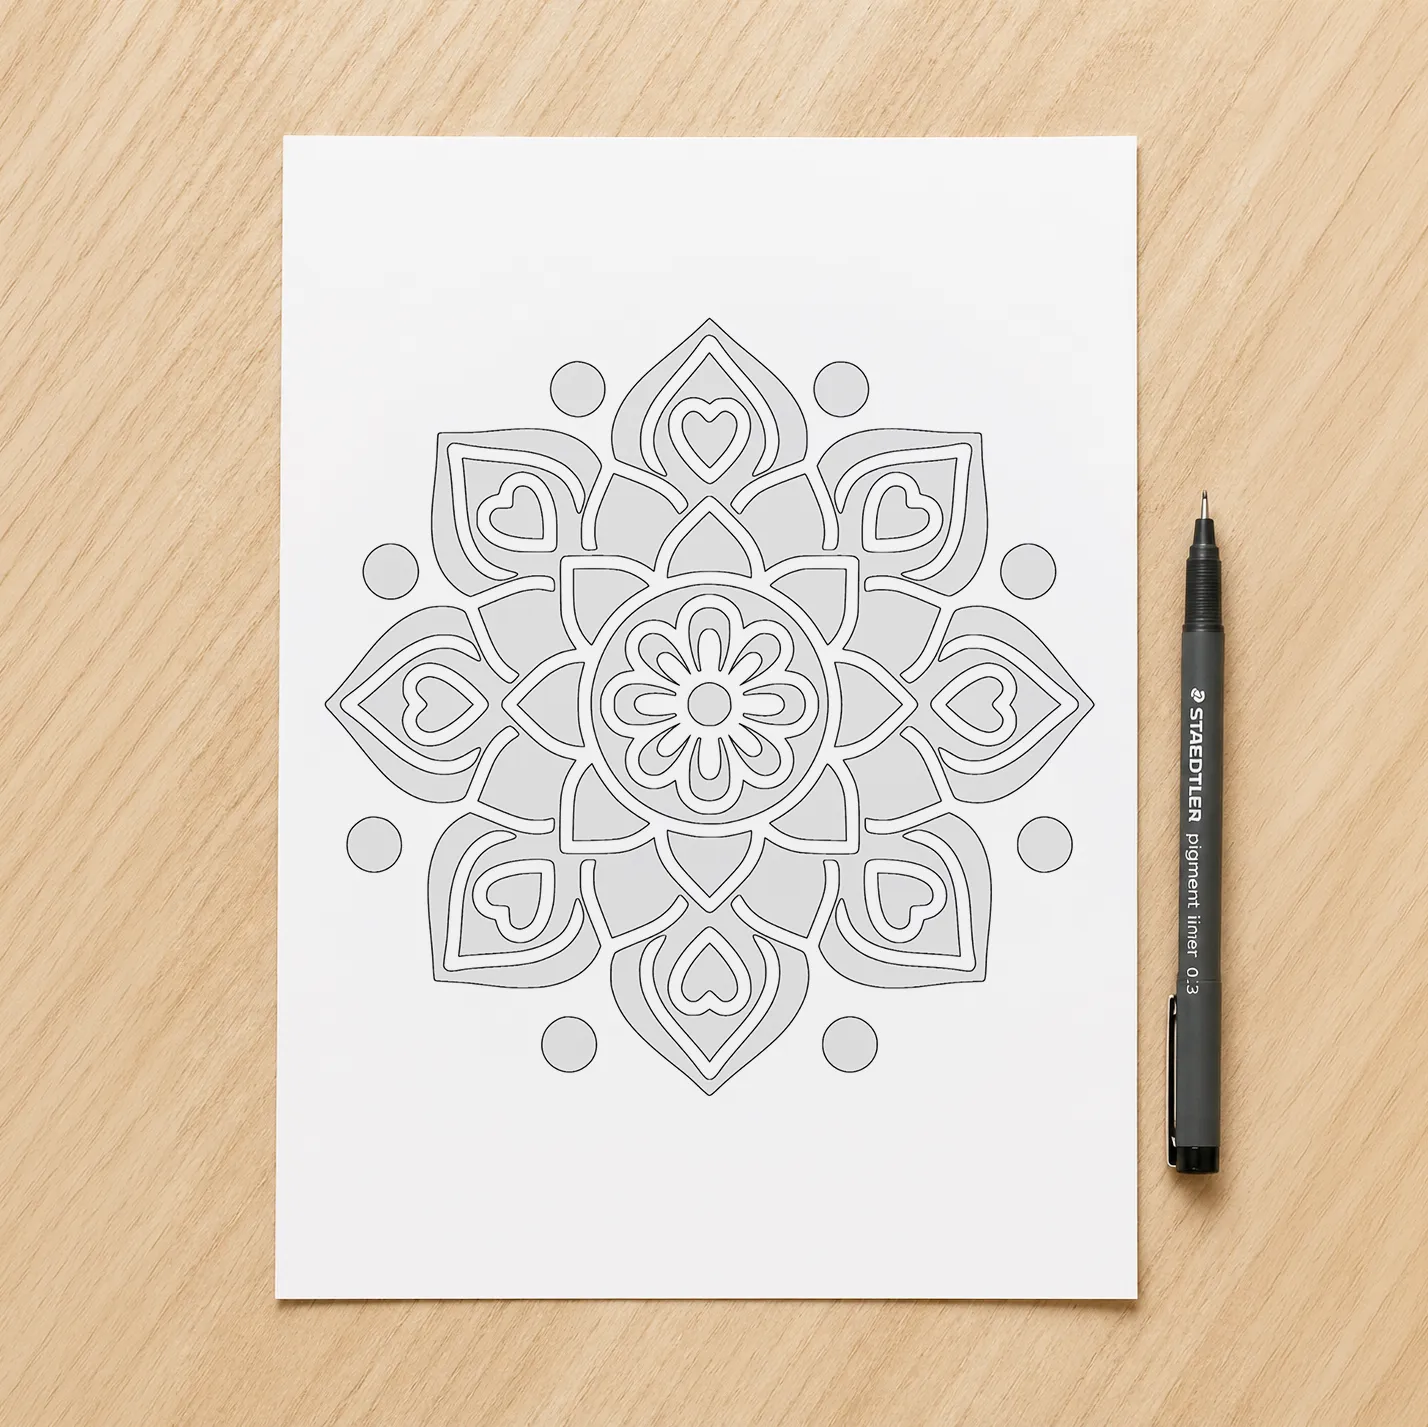
Fineliners & Gel Pens
Fine details, lines and dots
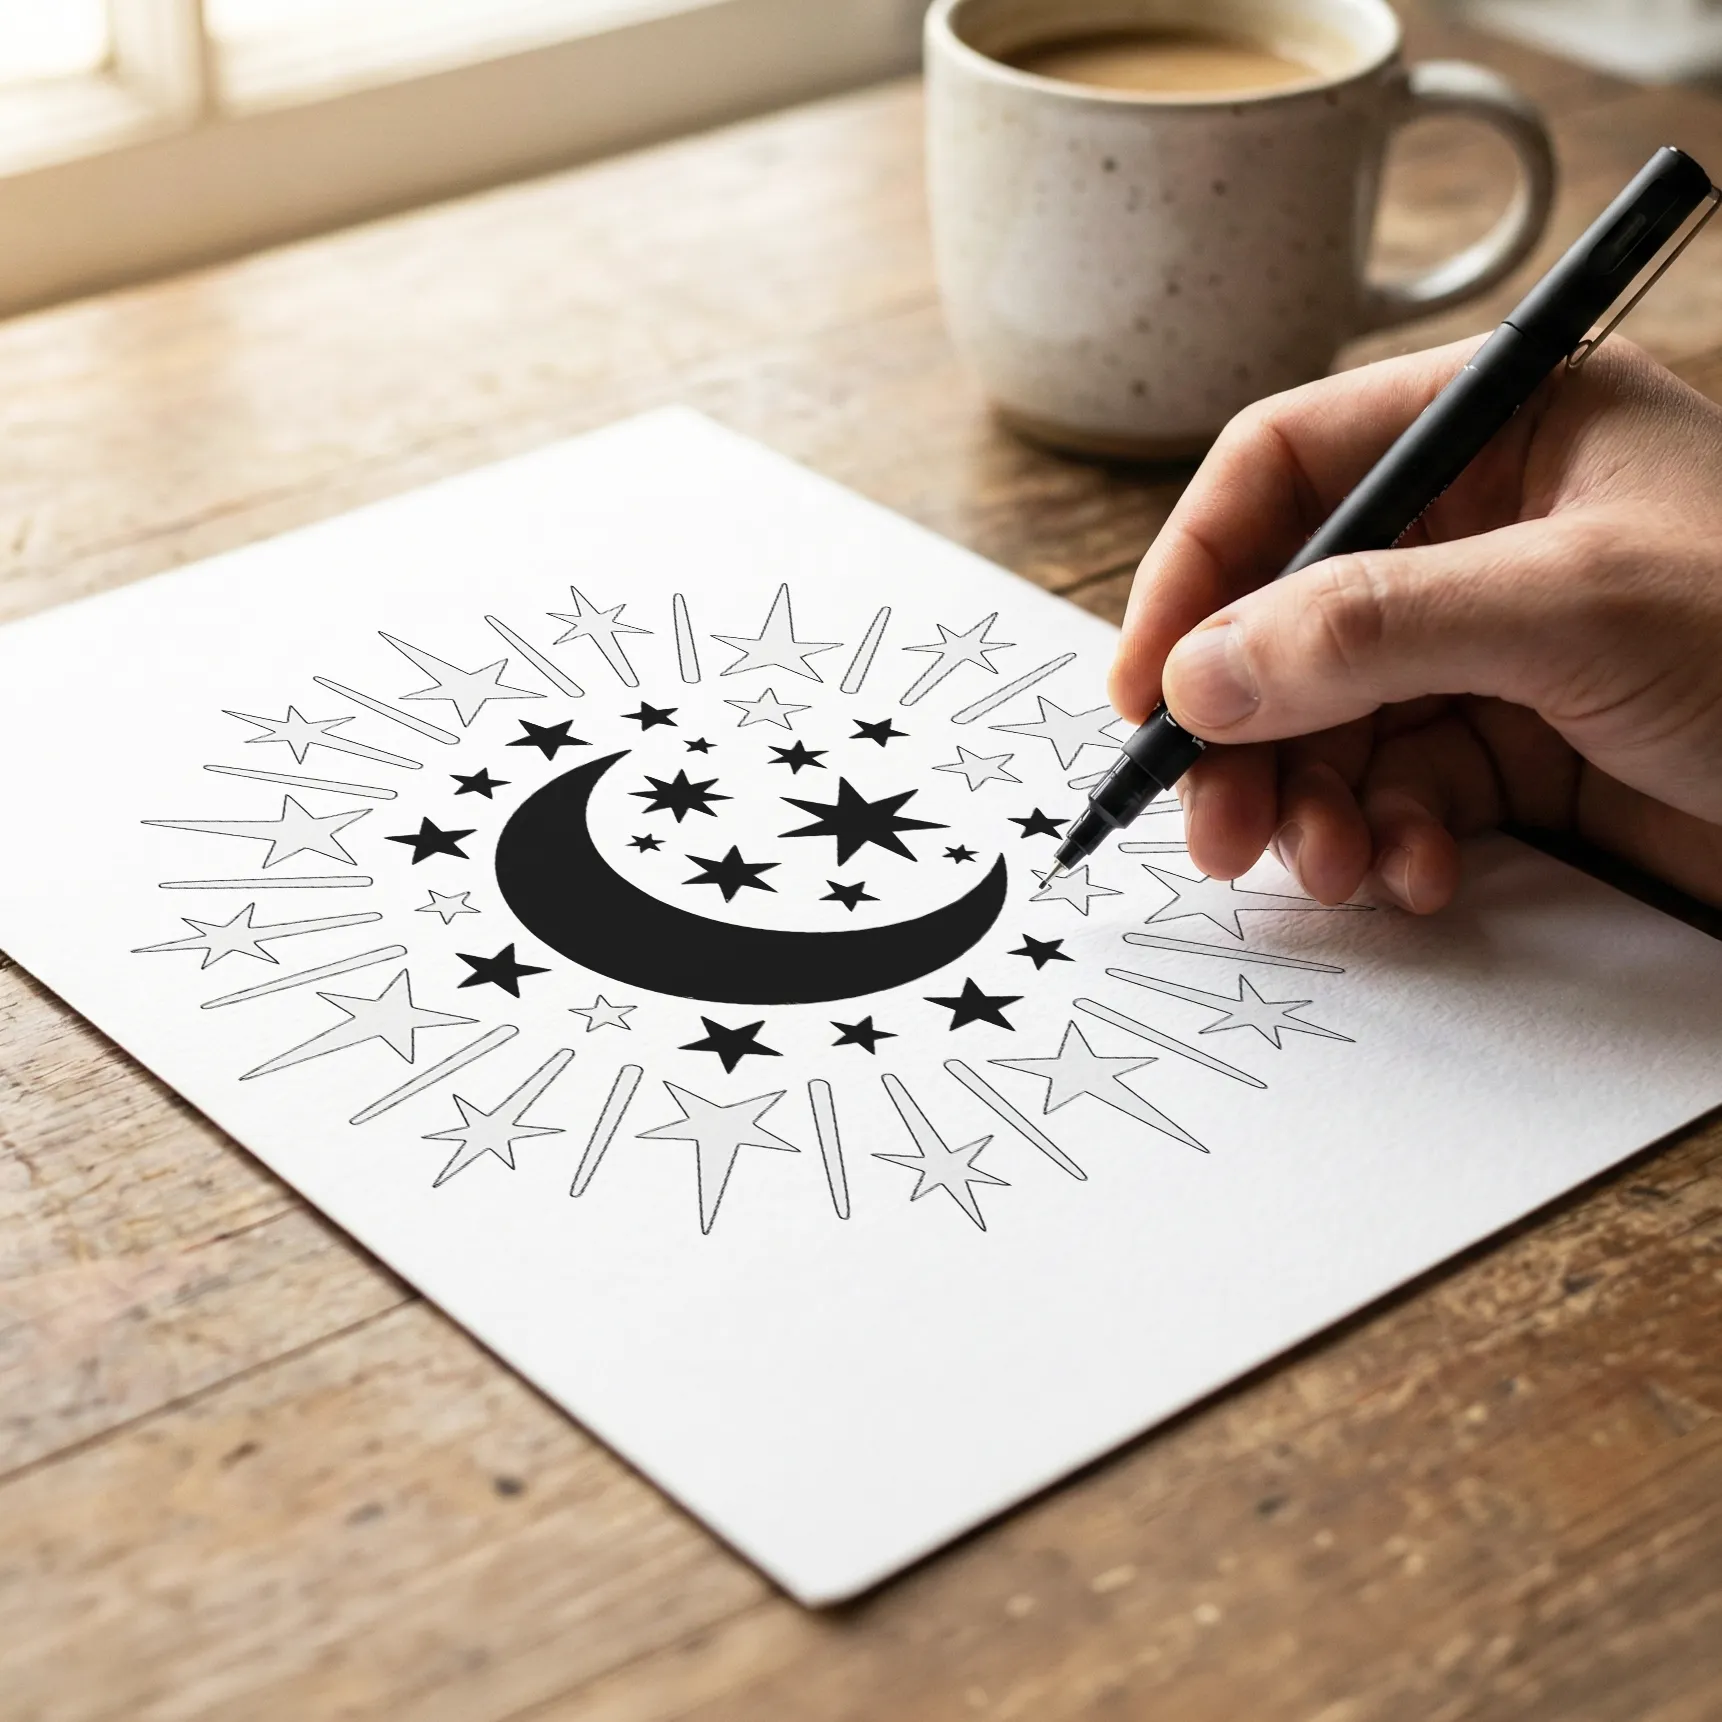
Made for small spaces and fine details. For extra depth, add hatching or dots: lines closer together read darker.
Our pick: Sakura Pigma Micron -
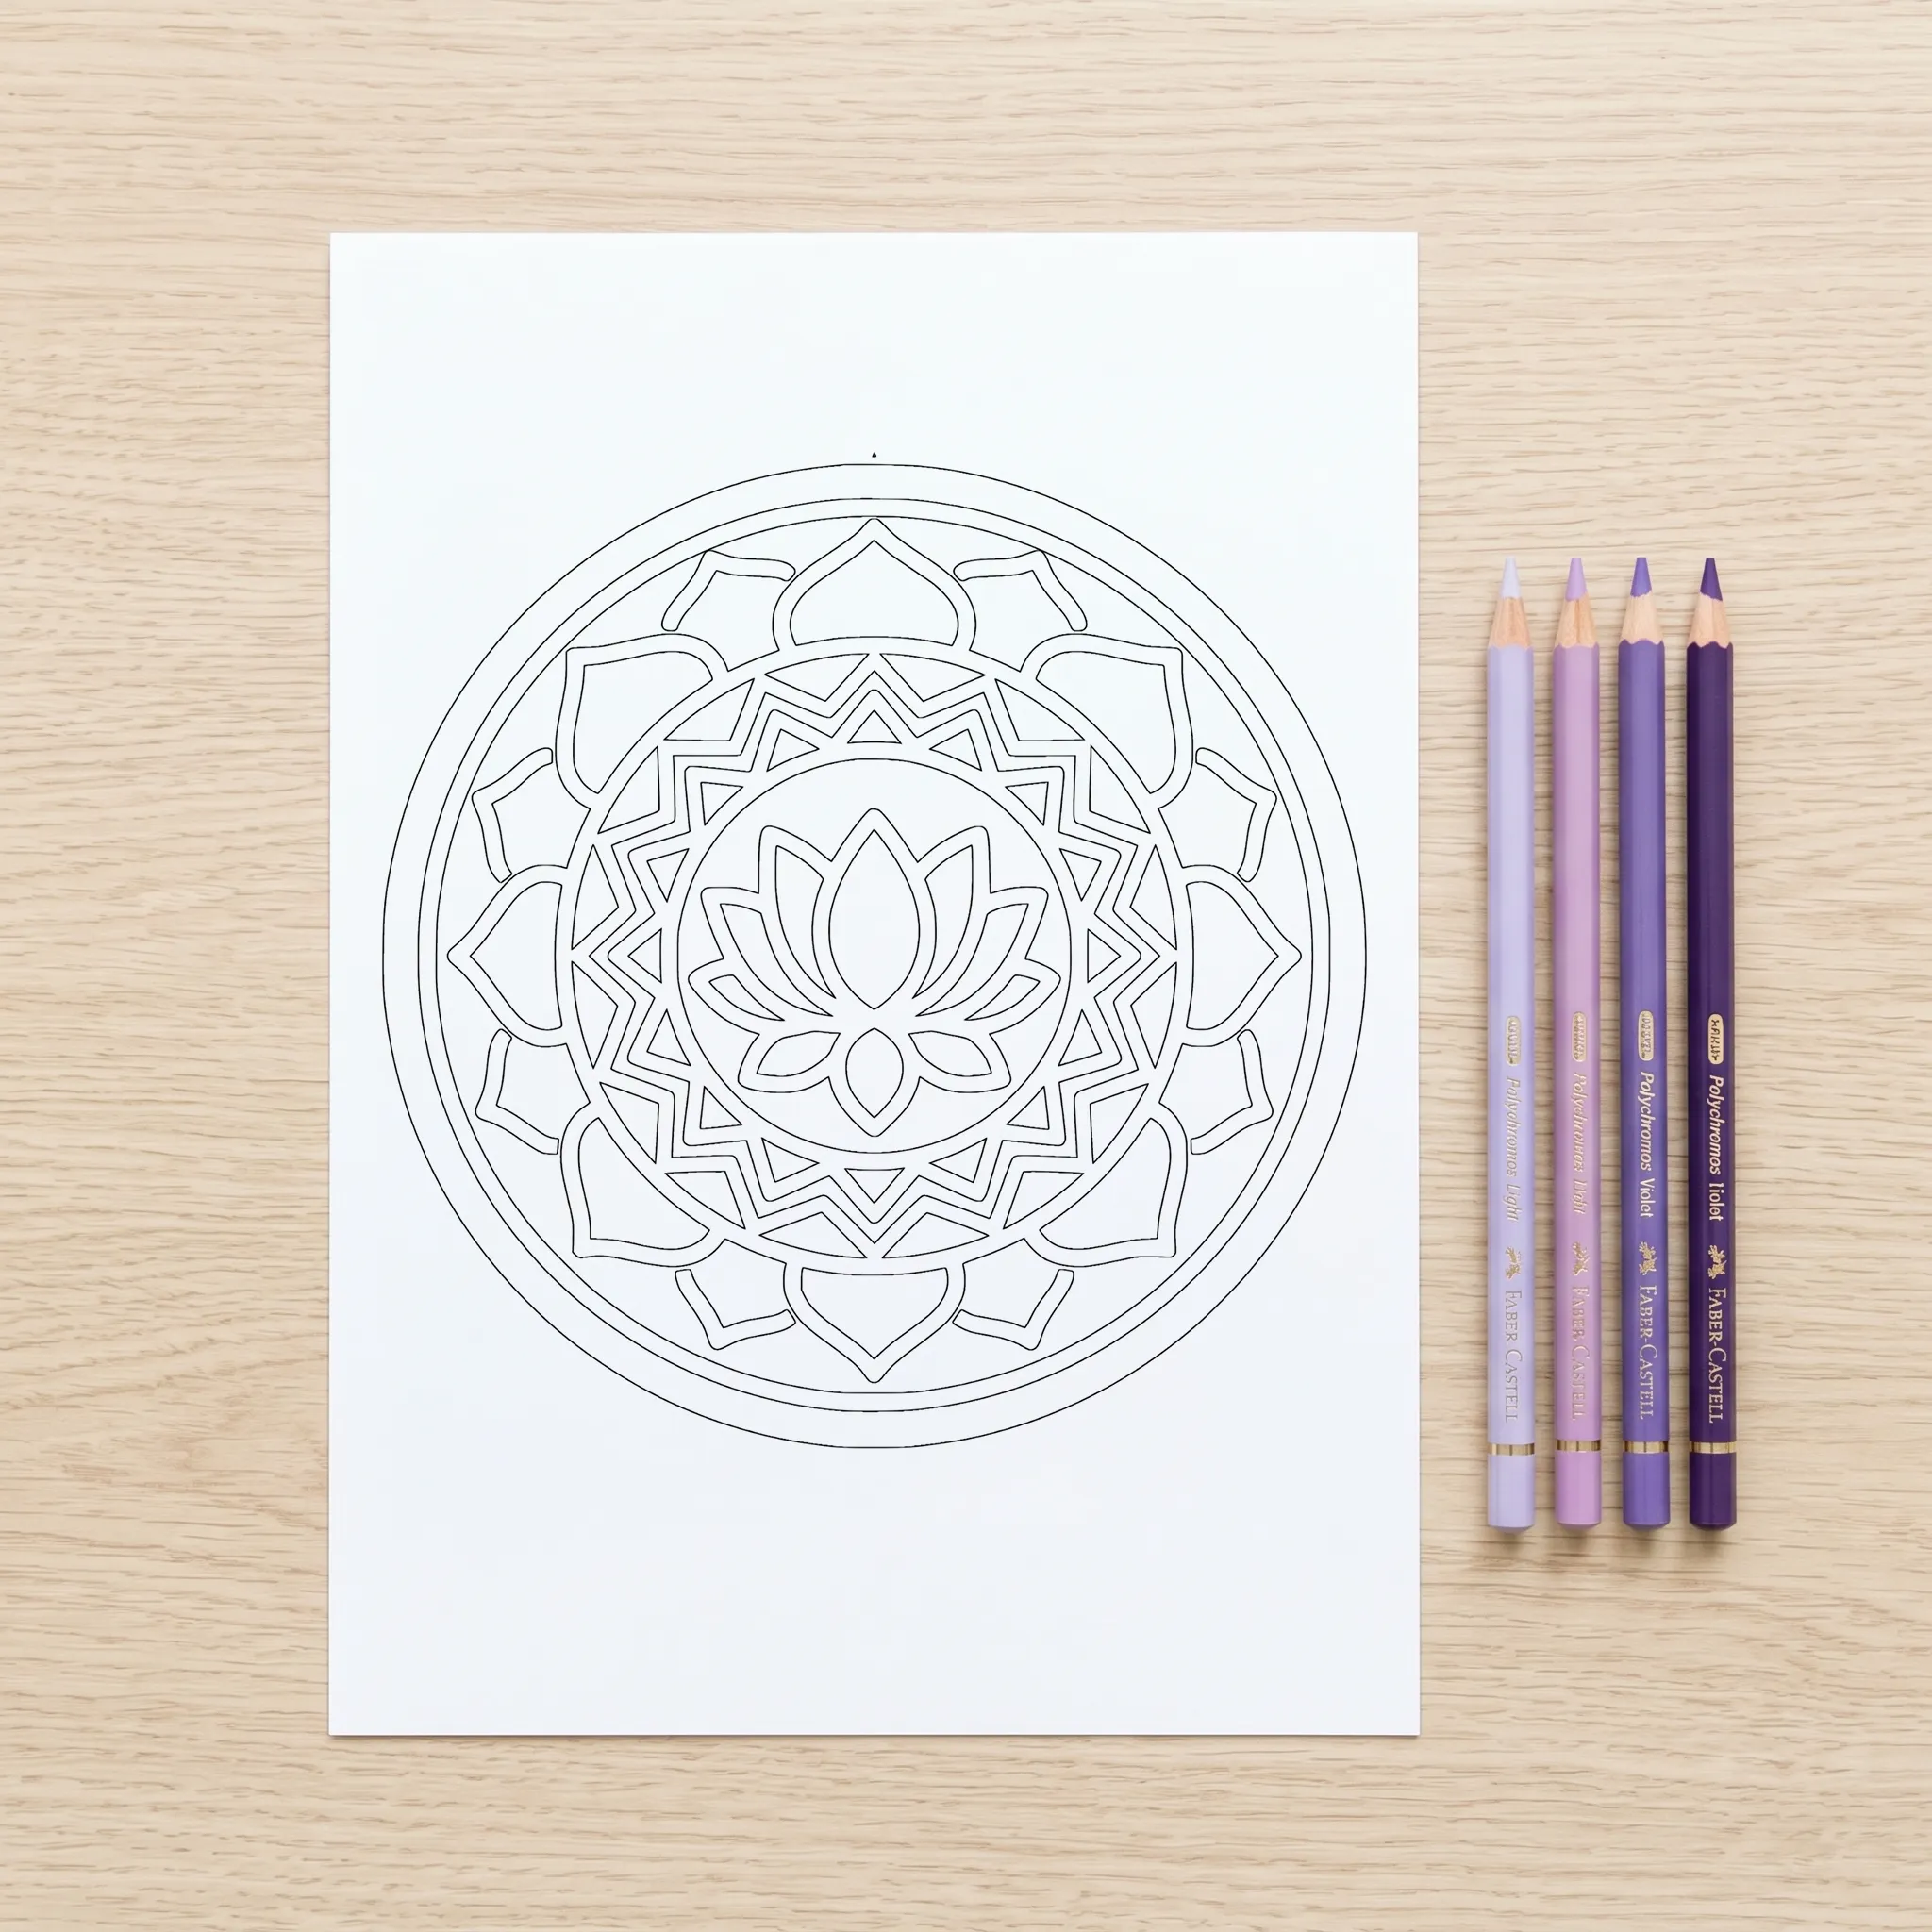
Colored Pencils
Layers
Start light and press harder in layers. Shadow Guide and Pattern Guide pages show where to go darker.
Our pick: Prismacolor Premier
Not sure where to add depth? Use a guided page: Shadow Guide shows it in soft gray, Pattern Guide marks it for you.
As an Amazon Associate, AnIsGOtt Design earns from qualifying purchases.
Frequently Asked Questions
Still unsure? The free Starter Pack is the quickest way to see if one color works for you.
What is monochrome coloring?
Monochrome coloring means coloring a whole page with just one color: one marker, pencil or fineliner. Every AnIsGOtt collection includes each design in Classic Outline, Shadow Guide and Pattern Guide.
What's the difference between Classic Outline, Shadow Guide and Pattern Guide?
Classic Outline: Clean lines. You decide where the color goes. Shadow Guide: Soft gray shading shows where to add depth. Pattern Guide: Small marks show which spaces to fill.
Do I need special markers or pens for monochrome coloring?
No. Any single marker, fineliner, gel pen, or colored pencil works. Markers give solid, bold coverage. Fineliners and gel pens suit hatching and pattern textures. Colored pencils build depth gradually through layered pressure.
Will my markers bleed through the paper? What can I do?
It depends on the marker and the paper. Alcohol-based markers usually soak through regular printer paper, while water-based markers, fineliners, gel pens and colored pencils tend to bleed much less. Slide a spare sheet behind the page to protect whatever is underneath. For printables, print on smooth cardstock or marker paper around 150 to 250 gsm (weights vary, so check the label), and test your marker in a margin first. If a printed page bleeds, just print it again. In our paperbacks, each design is printed on one side of the page, so any ink that comes through lands on a blank back.
How long does a coloring session take?
Anywhere from a quick 10 to 15 minute reset to an hour-long deep-focus ritual, depending on the design's detail level and the coloring style you choose.
Keep Reading

Get Your Free Starter Pack
15 pages in all three styles to test your paper and markers.
No spam. Enter your email to download instantly.
The Ritual Begins
Your free pages are ready. Download below.
DOWNLOAD MY STARTER KITFree PDF · 15 pages · Print-ready